
Working with environments in Postman
Postman is one my favourite tools at work to test APIs. Even at a simple level Postman easily becomes invaluable. At the same time, devoting a little effort in learning some of its best features can quickly boost our productivity and development speed.
One of my favourite aspects of working with Postman is its environments feature.
Life without Postman environments
Before explaining what an environment is in the context of Postman, I’d like to list a couple of the most common scenarios I face when working with an API. This will make it easier to understand why and when environments are useful.
One of the most common cases is having to hit an endpoint that requires some sort of authentication.
Say, for example, that we are hitting http://localhost:3000/users to retrieve a list of users that are registered on our platform.
The server expects the user that performs the call to be authenticated to make this call. To accomplish this a client may expect to pass a token as part of the request, say as an entry in the headers in the form of a JWT token.
The easiest way to do that is to first hit our authentication endpoint (for instance http://localhost/auth), passing a username and password, inspect the response on the Postman UI and manually copy this token. We would then be able to paste this token as a header for future requests, such as the above example to request the list of users.
While this works, it becomes tedious quickly as we will need to paste the token in every new tab we create on Postman. Moreover, every time our token expires, we will have to repeat the process of hitting the auth endpoint, and copying our new token.
Let’s see how we can avoid this manual setup thanks to Postman.
## Learn how to work with environments
As you will see, environments are a very powerful feature to stay organised in Postman and to make our workflow much faster and portable. If you want to follow along and try all the steps below you can clone this repo, follow the instructions in the readme to install and test every command against this test api.
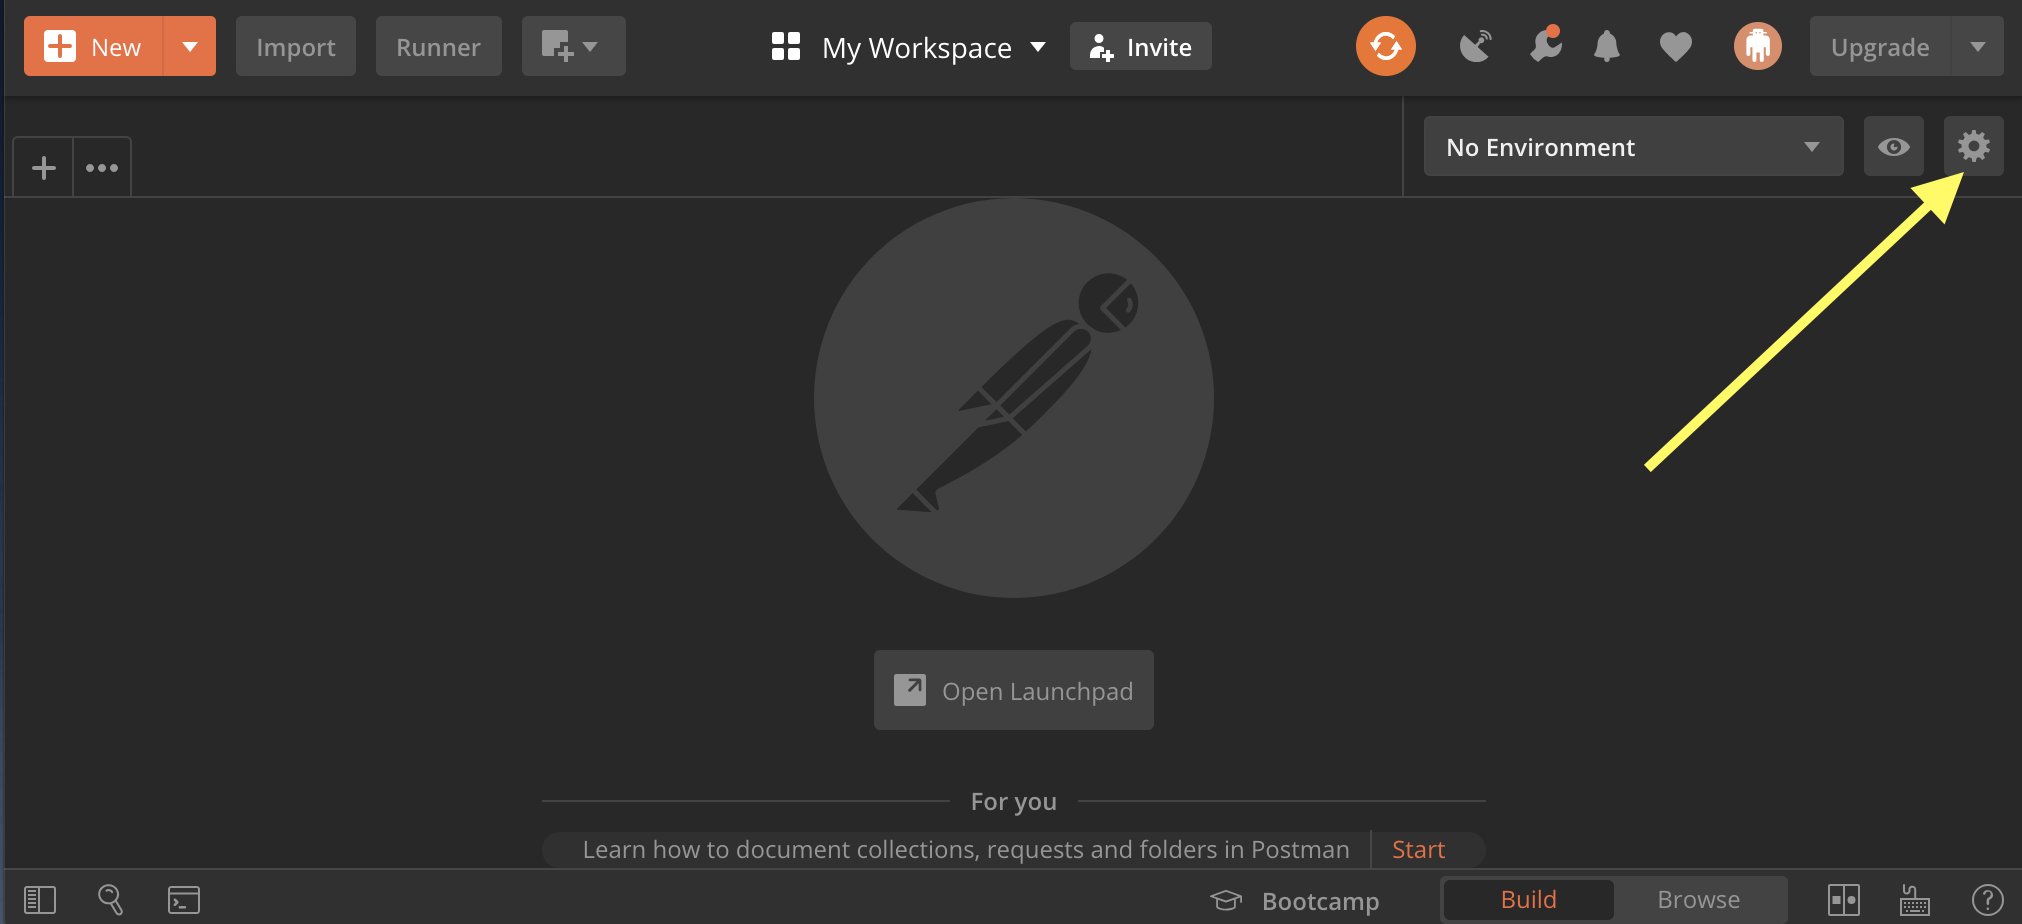
Open Postman and click on the cog on the top right section of the UI.
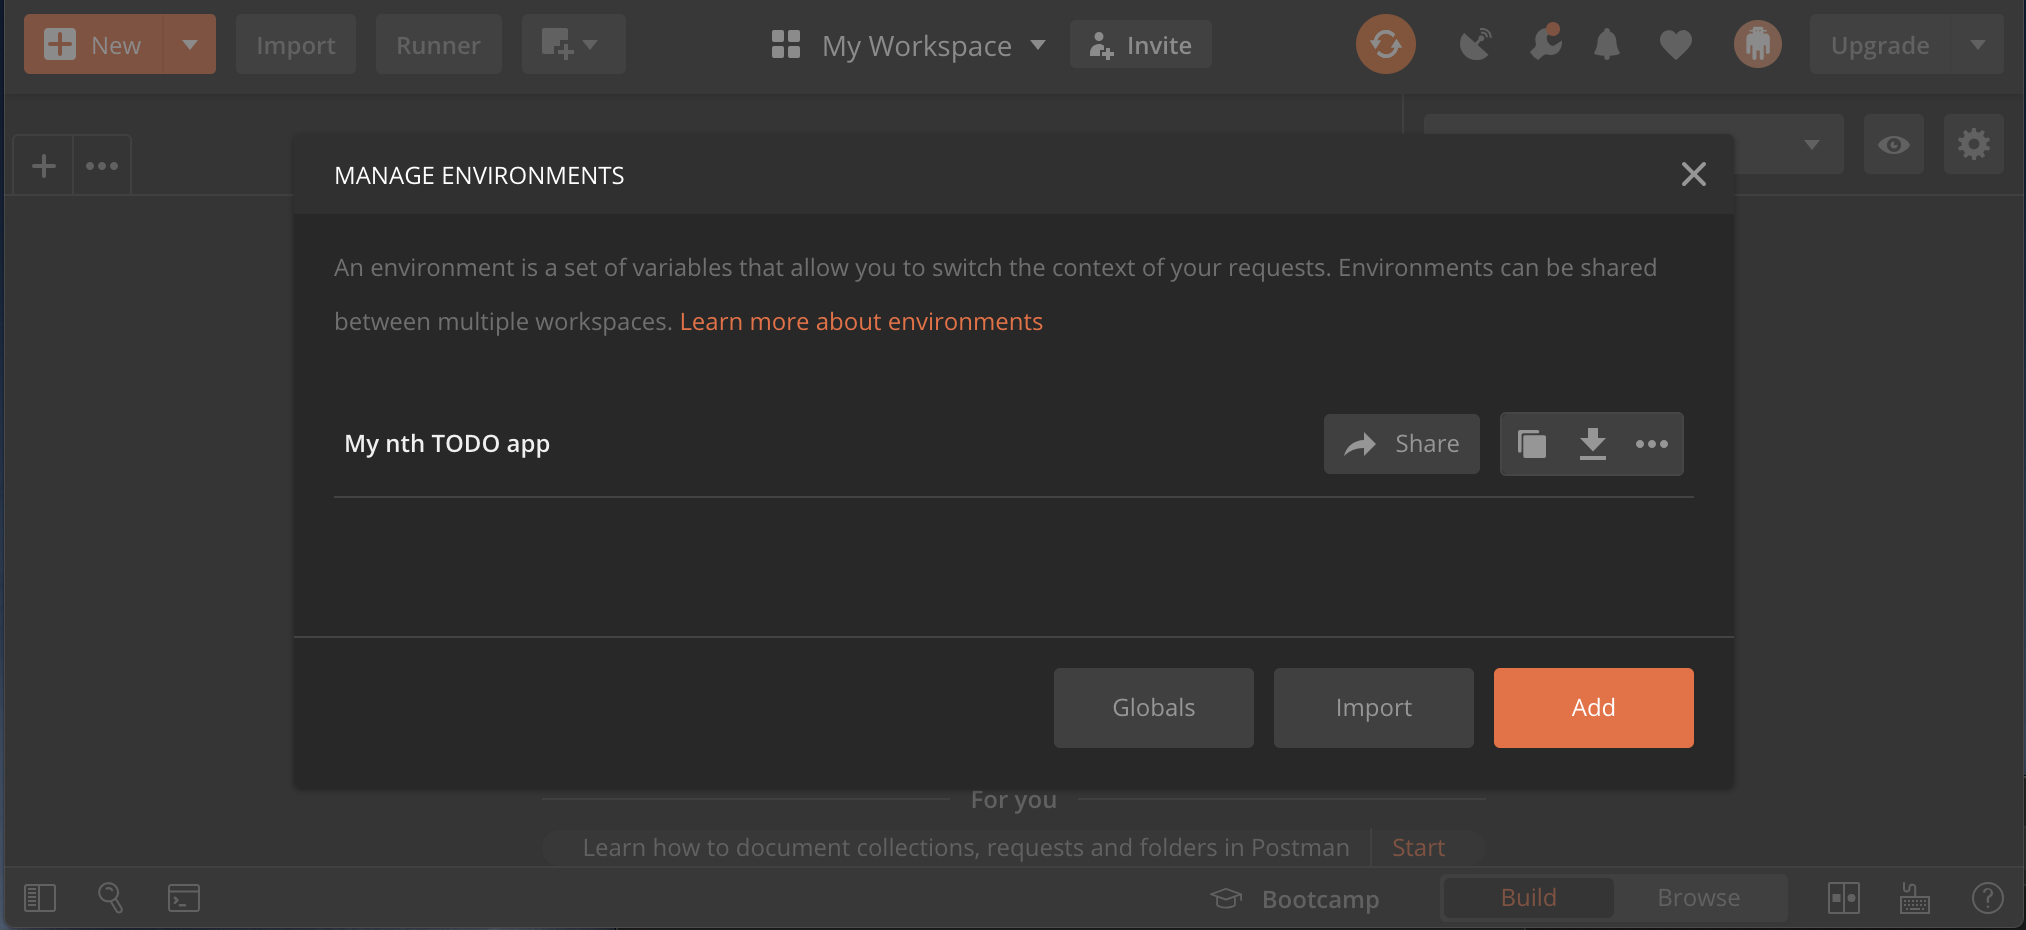
Choose a unique name for your project, and fill in 2 variables, URL and Authorization.
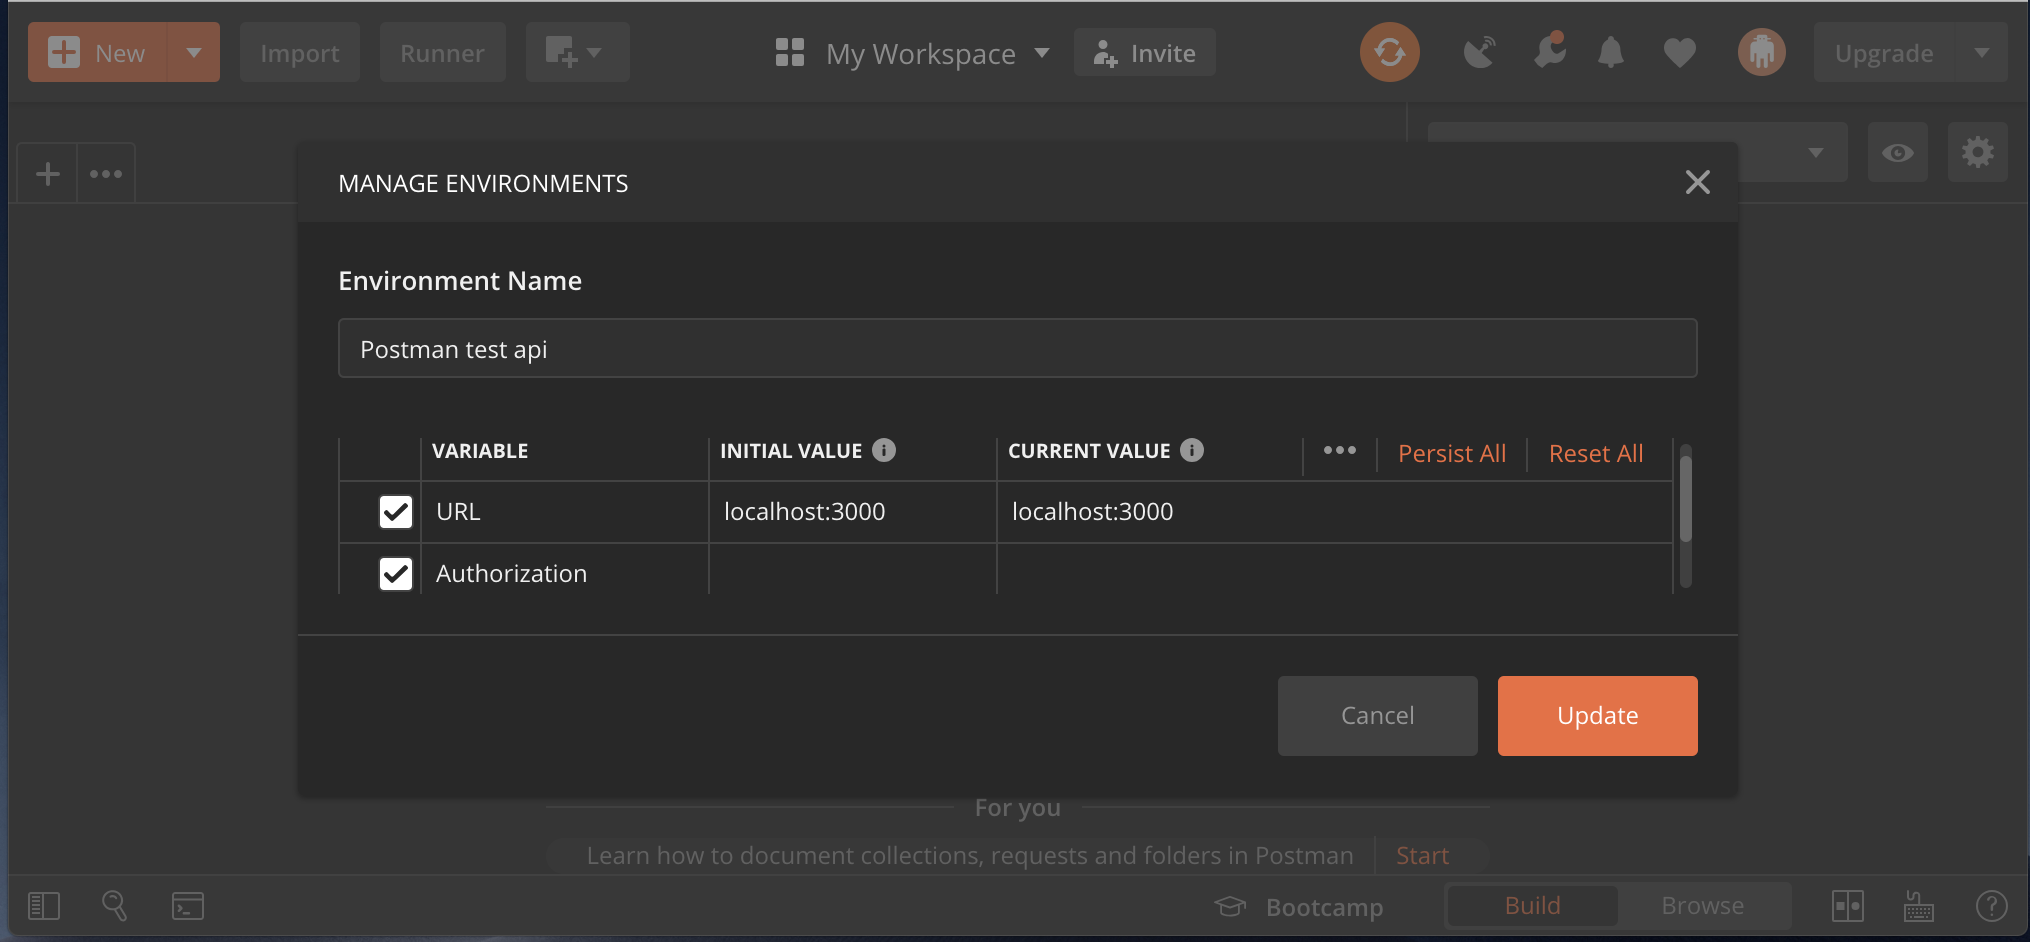
In the picture I added an initial value of localhost:3000 for URL, since I am running my server locally at first, while I left the auth field blank.
With this setup we can start hitting the auth endpoint and make use of our first variable in Postman.
Save the values and select the newly created environment from the “Environments” dropdown on the top right of the UI.
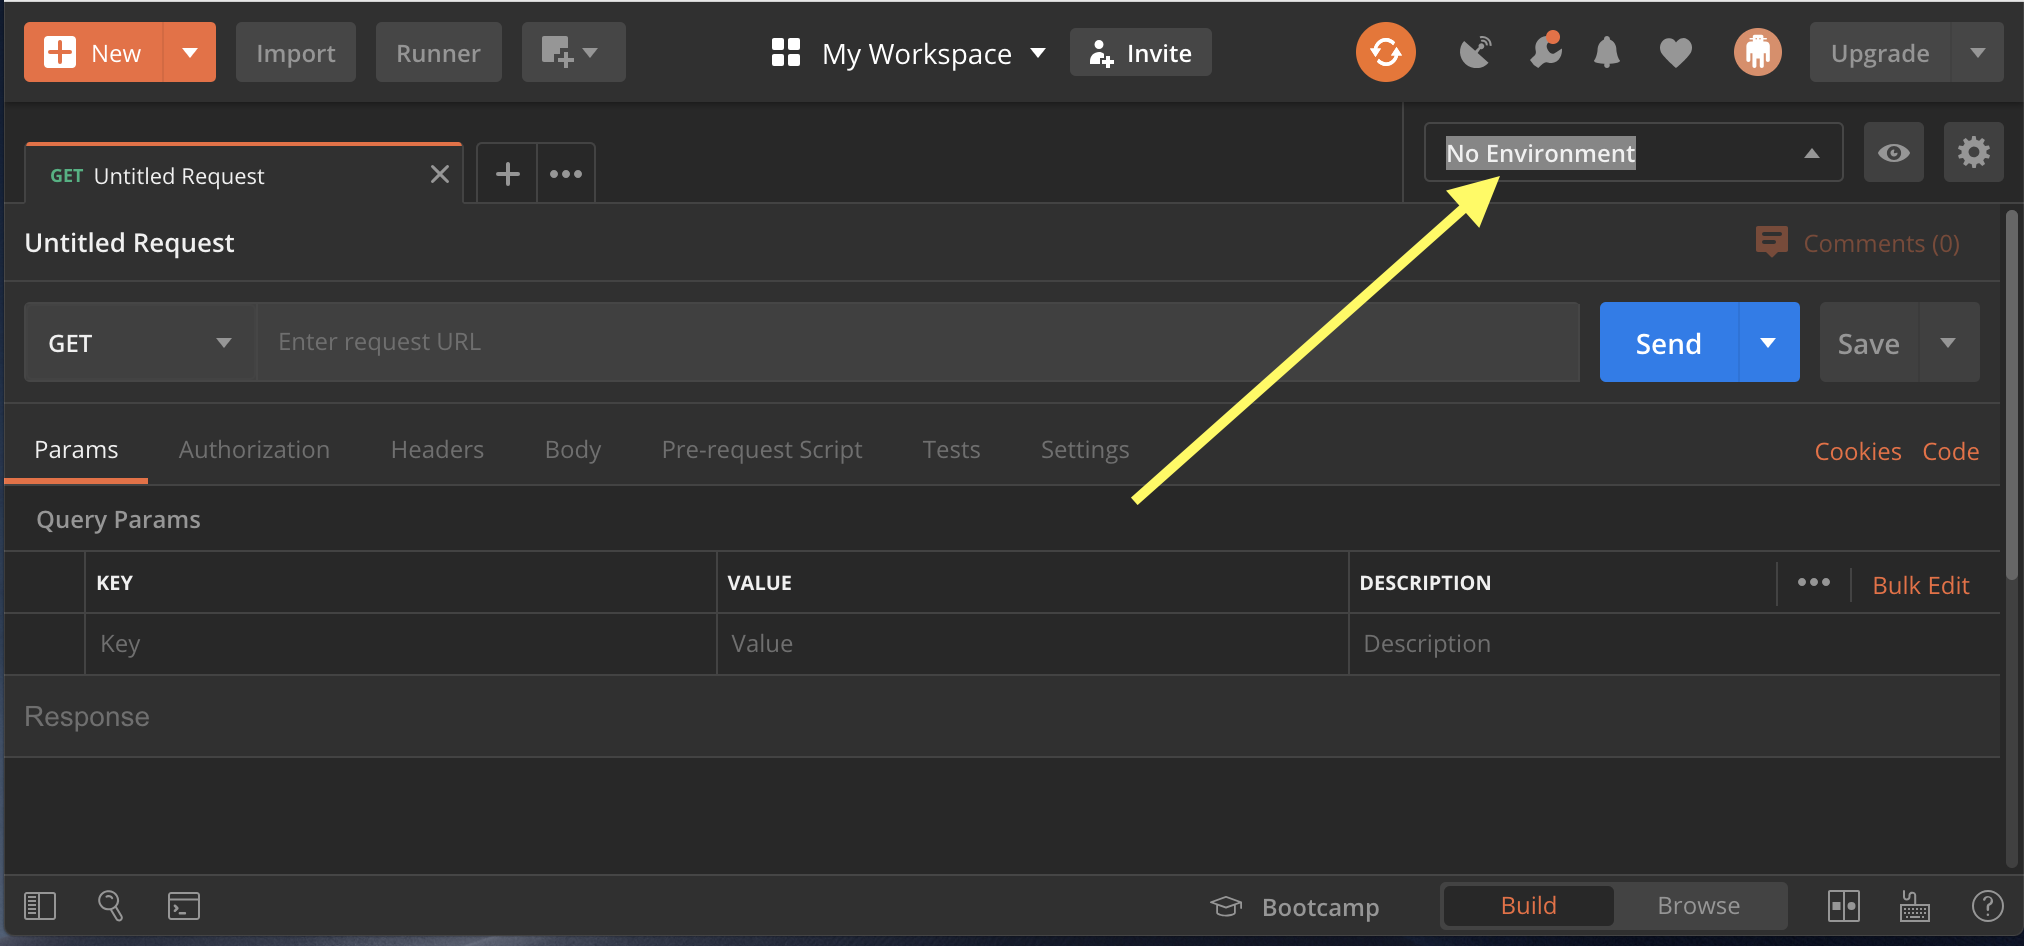
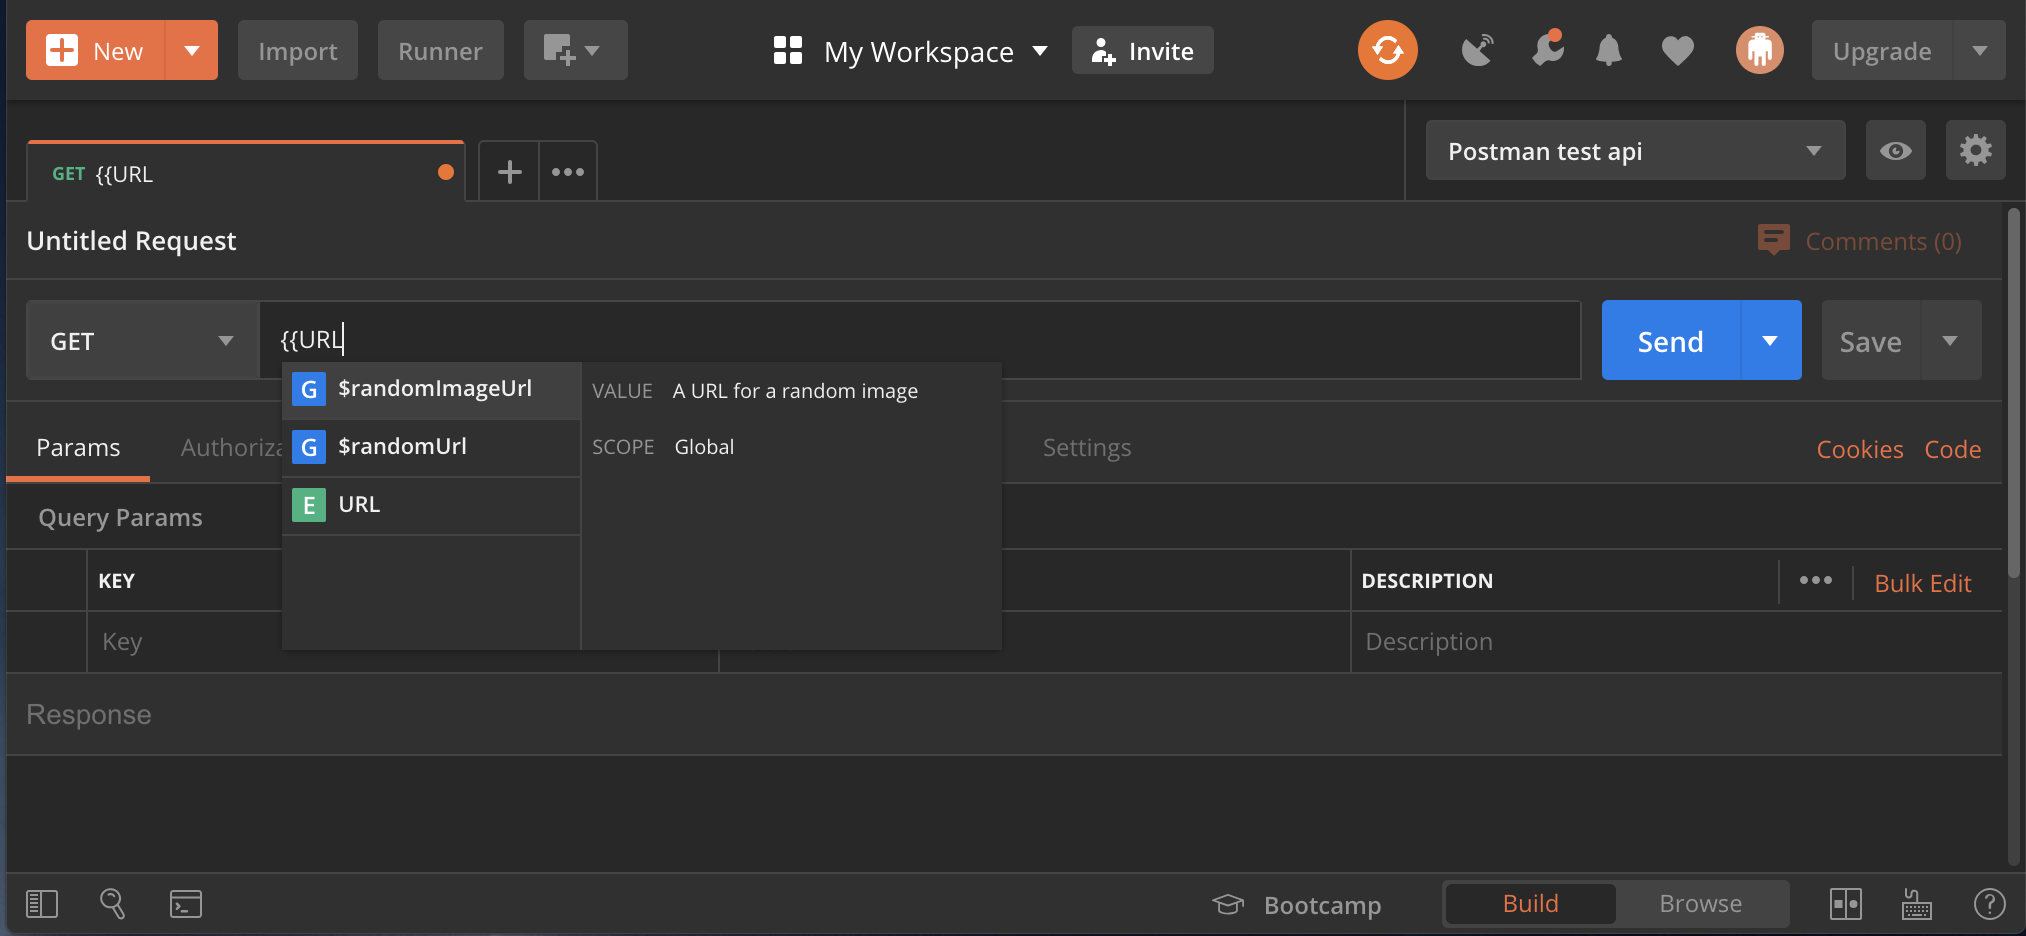
Create a new request by typing the endpoint we want to hit into the main input field.
We want to hit localhost:3000/auth, but instead of hardcoding the host we will use the environment variable we just created, by replacing localhost:3000 with ``.
This means that localhost:3000/auth will become /auth. Postman will confirm URL is defined while we type via and autocomplete popup.
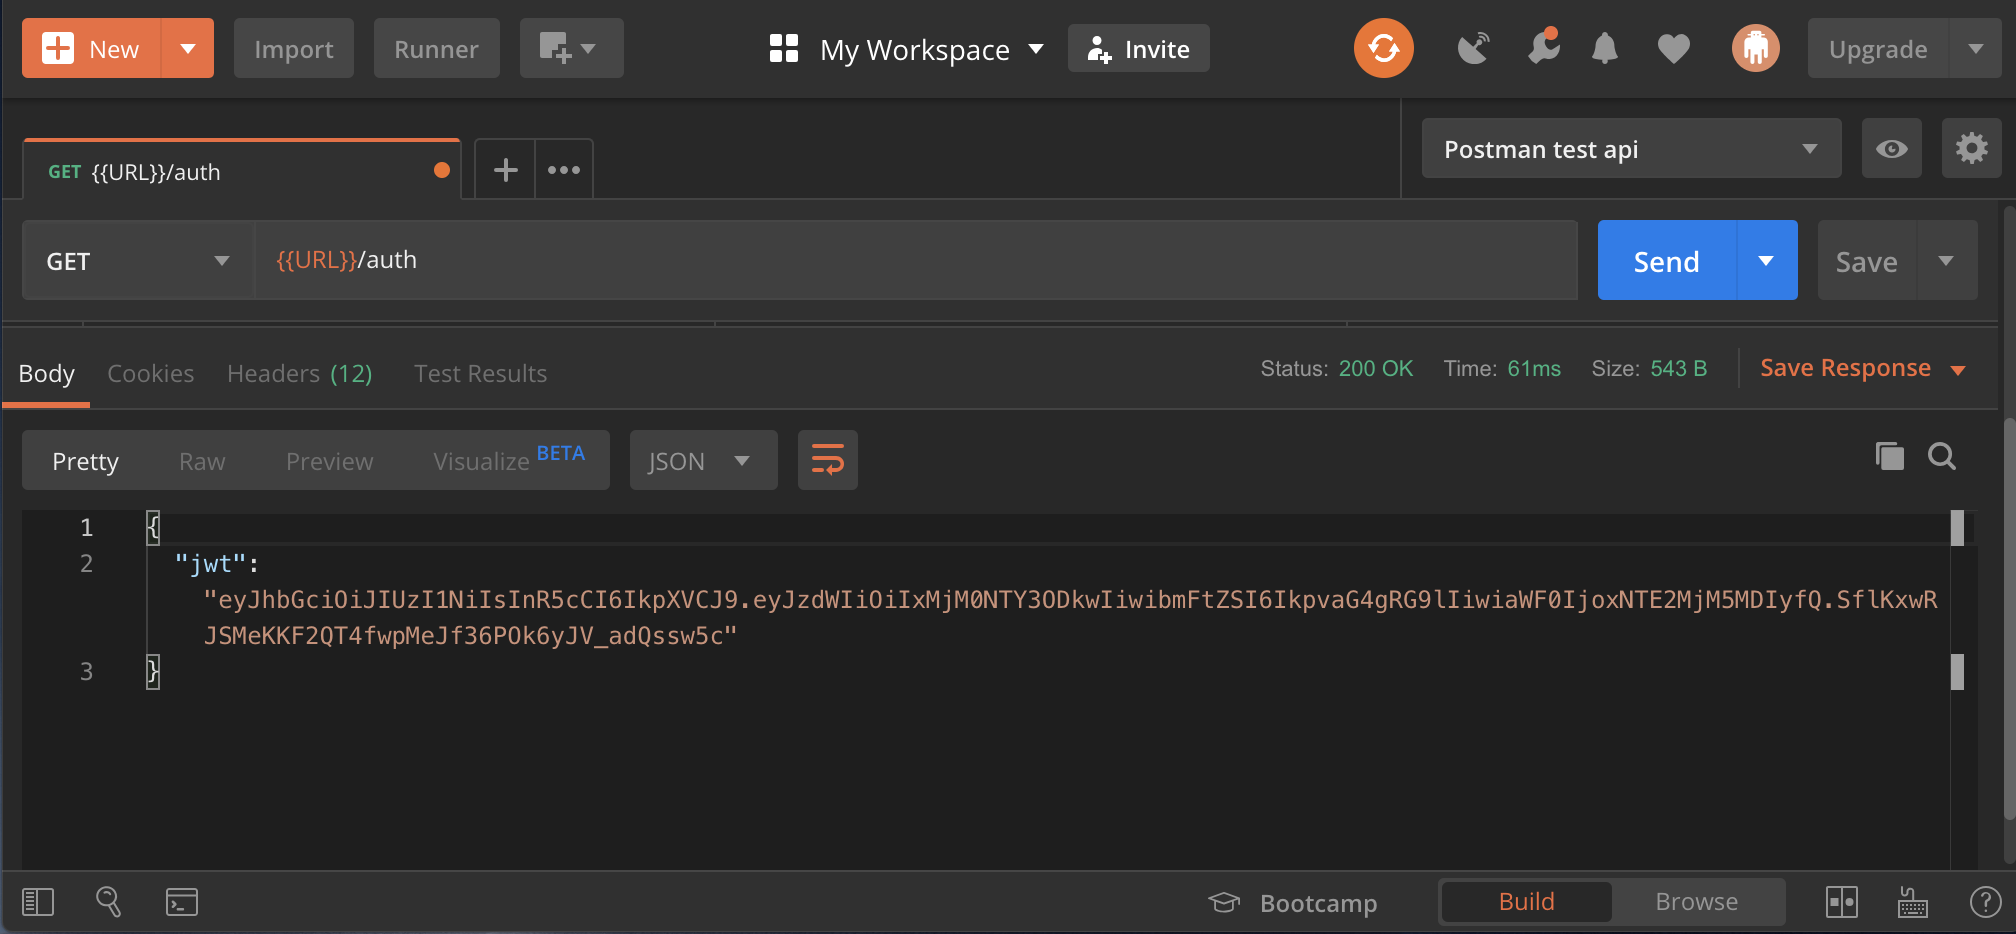
Once the url is typed we send the request and sure enough, we have our token back. This is of course the least secure of the APIs since we’re not even passing an email password combination, but that’s ok for a test server!
We now want to extract this token from the response and assign it to our other env variable, Authorization.
To do so, select the “Tests” tab and type this:
// read response
var res = pm.response.json();
// set Authorization to the jwt token
pm.environment.set("Authorization", res.jwt);
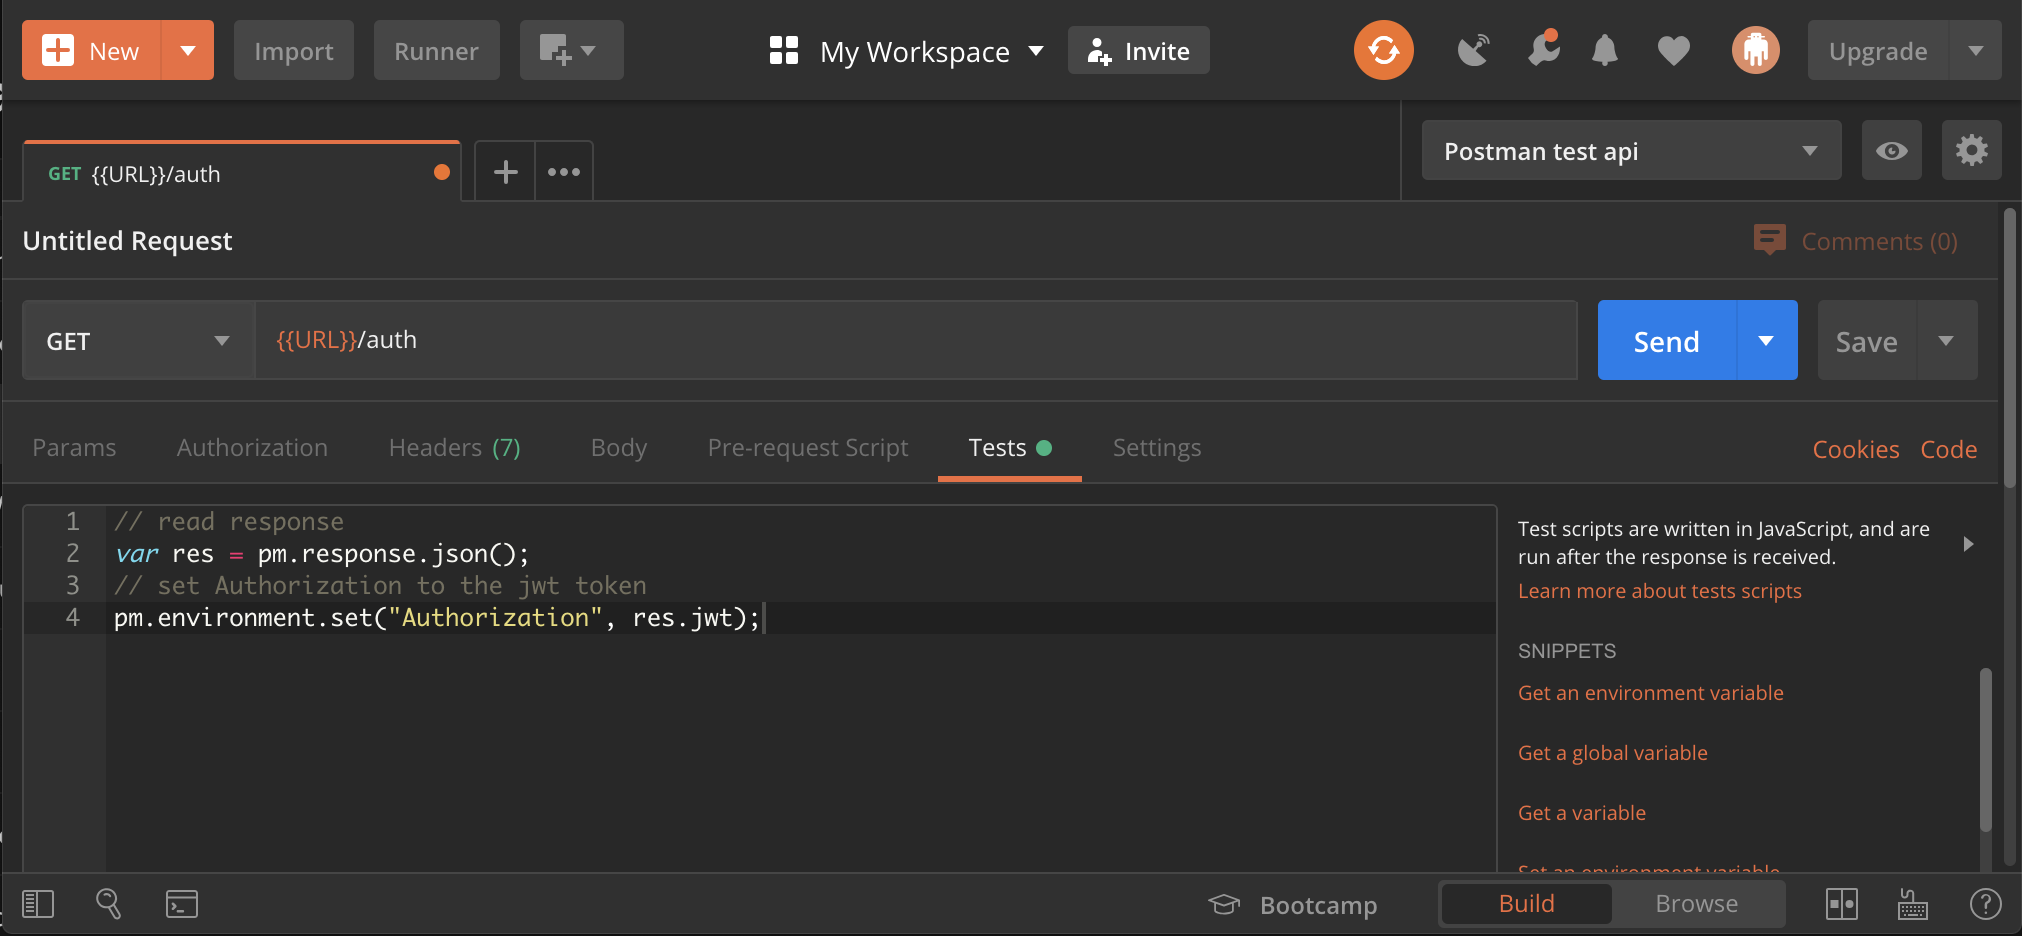
This easy 2 liner gets the response and sets it to our env variable. We can confirm it works by running the request again and then clicking on the top right eye icon (Quick look environment variables). We will see the value being populated.
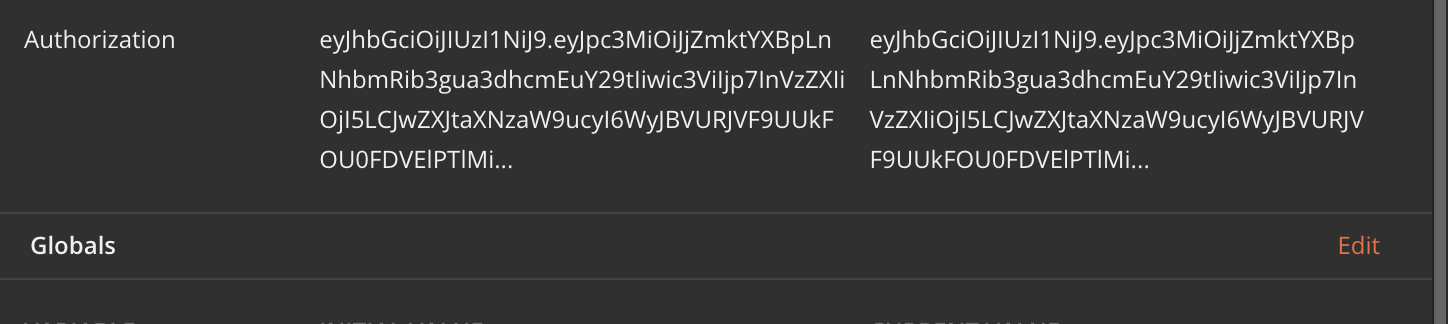
This is great, as now we’ll be able to make request without manually pasting the token.
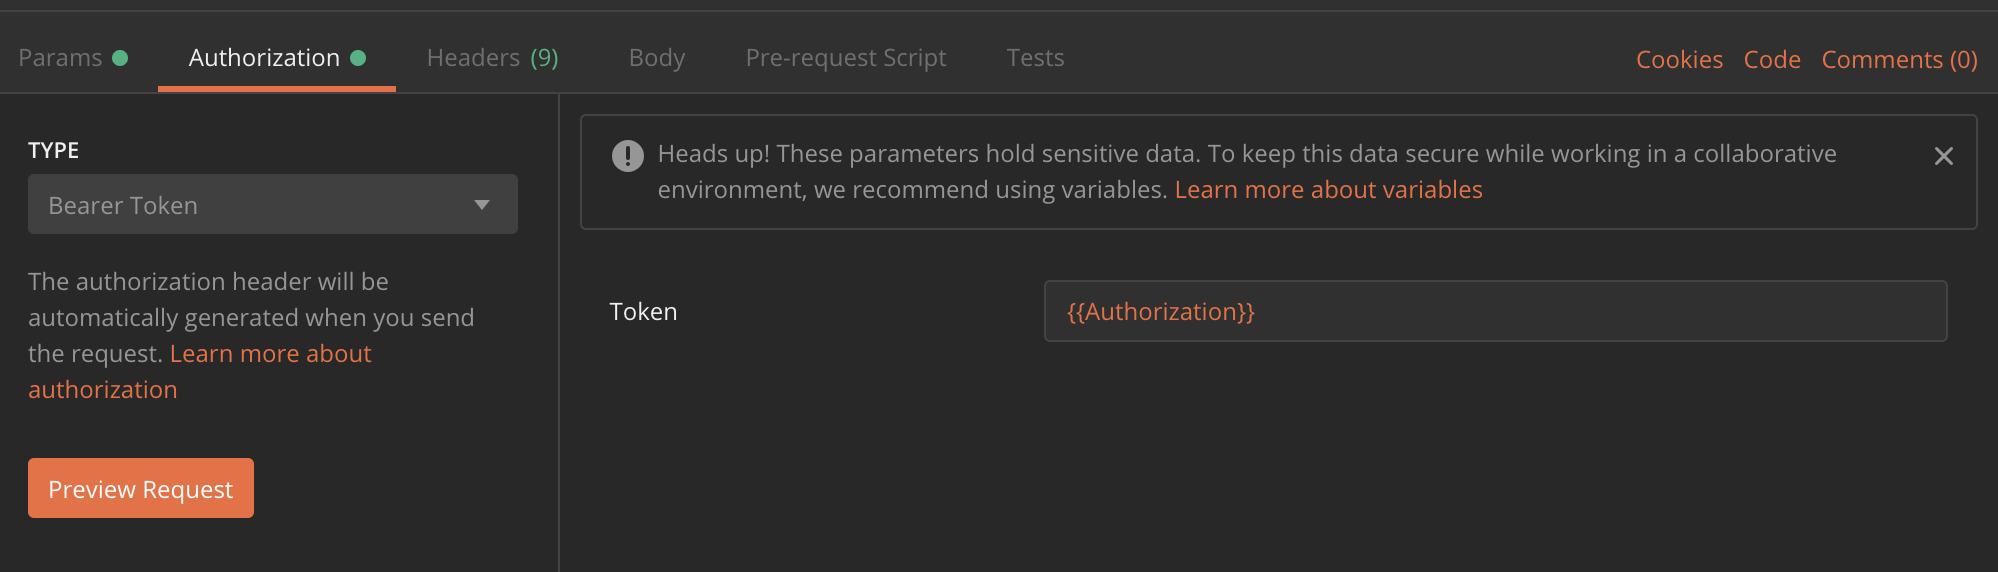
To do so we just need to open a new tab in Postman, paste the full URL of one of our authenticated endpoints, such as /users and, in the request headers make use of our newly set variable. Click on “Authorization” and select “Bearer token” under the Type dropdown. Paste our variable in the one field available.
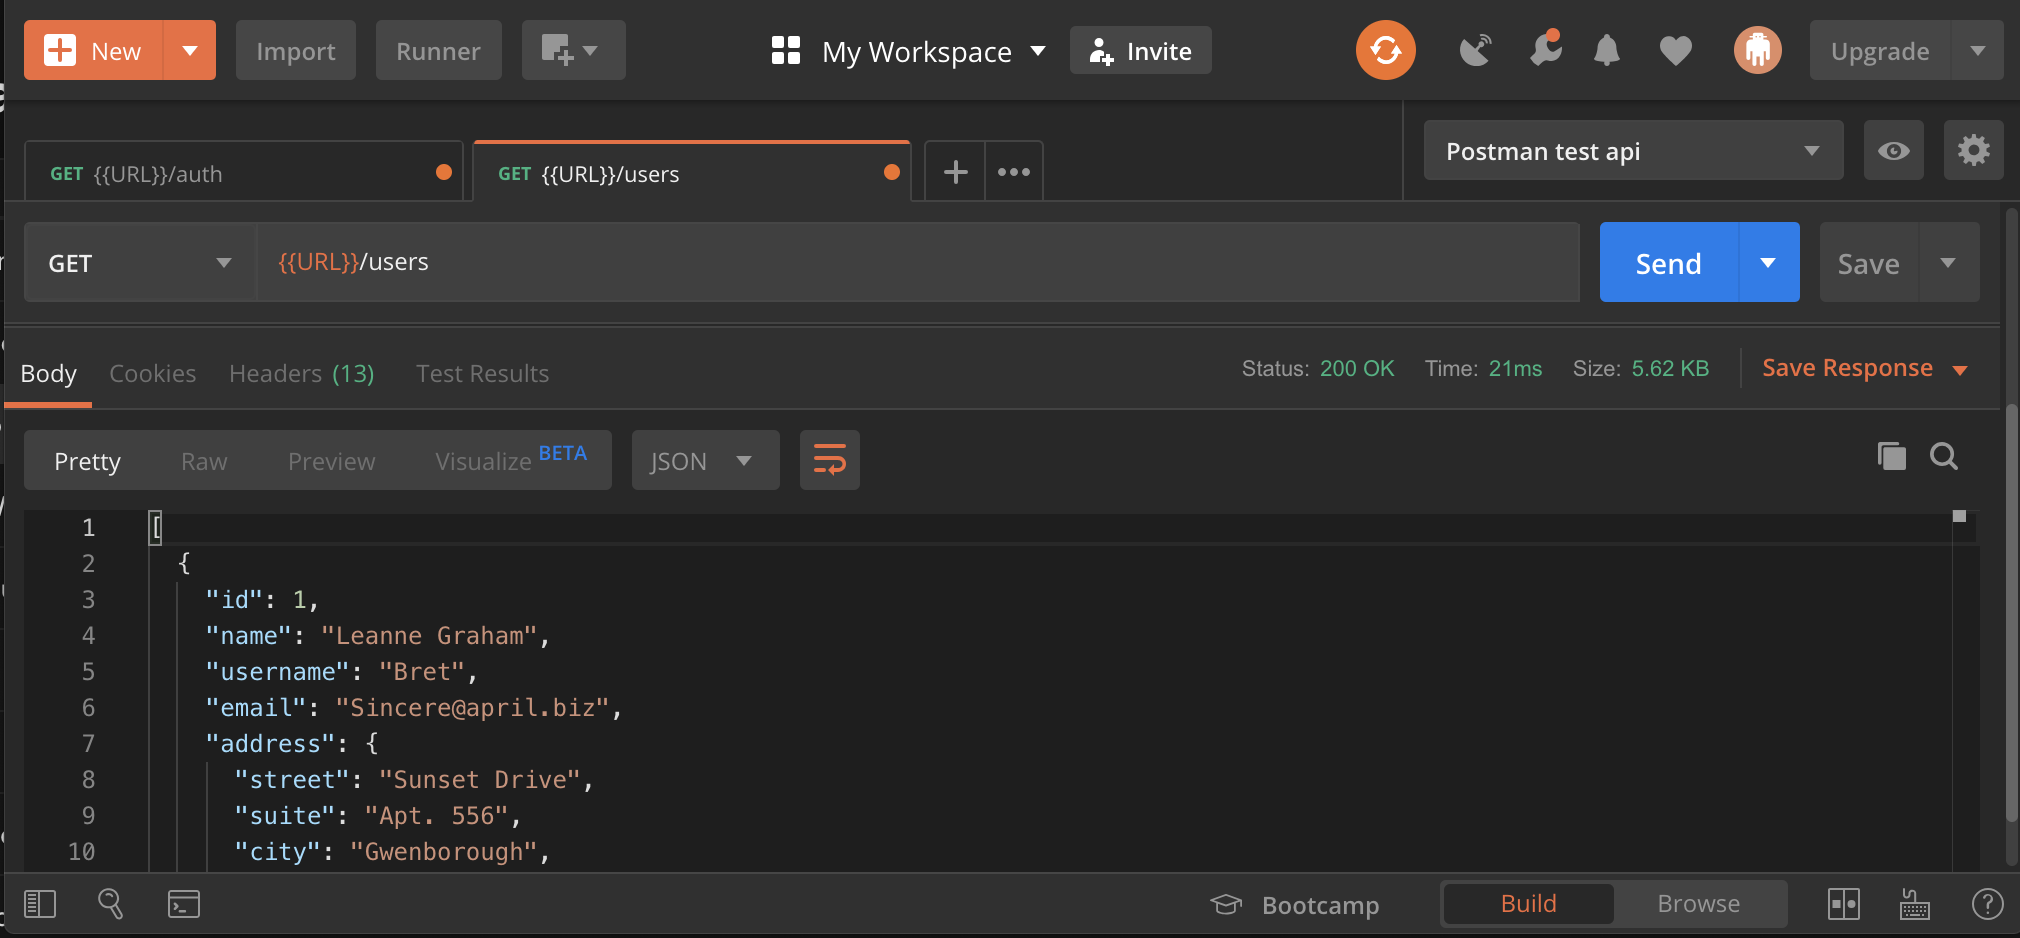
Once done we are ready to send a request to an endpoint that requires authentication, such as /users and see the results.
Getting more out of Postman environments
This simple workflow is just the tip of the iceberg of the many advantages of Postman variables and environments. The configuration we just created can be saved and shared to other devices or to other colleagues that are working on the same project. More examples and suggestions can be found on the excellent docs of Postman.